Begin with the quietest intended sound
A room suitable for a loud impact may be unsuitable for whispered dialogue or the movement of a sleeve. Start the assessment with the smallest sound in your brief. Set a representative microphone distance and recording gain, then listen through headphones while nothing deliberate happens. The recording should reveal the environment as your session will actually encounter it, not as it sounds to someone standing by the door.
Ask for a room-tone sample with the normal ventilation running. A demonstration with the air system switched off may hide a practical problem: performers and engineers cannot necessarily work comfortably that way for a full session. Listen for steady hiss, low-frequency rumble, intermittent traffic and neighbouring activity. Note when each disturbance occurs. A predictable interruption may be manageable; random vibration can be much harder to schedule around.
Separate isolation from treatment
Isolation concerns sound travelling into or out of a room. It depends on construction, seals, doors, glazing and flanking paths through connected structures. Acoustic treatment concerns the reflections and decay within that room. Absorbers and diffusers can improve an internal sound without stopping a passing vehicle. A room covered in foam is therefore not evidence of reliable sound isolation.
The distinction changes what you ask a studio. Request information about adjacent rooms, building services and likely external activity during your booked hours. Where formal measurements exist, ask what was measured and under which conditions. ISO 16283-1 addresses field measurement of airborne sound insulation between rooms; ISO 3382-2 concerns reverberation time in ordinary rooms. Neither standard, by itself, certifies that a space is right for your particular recording brief.
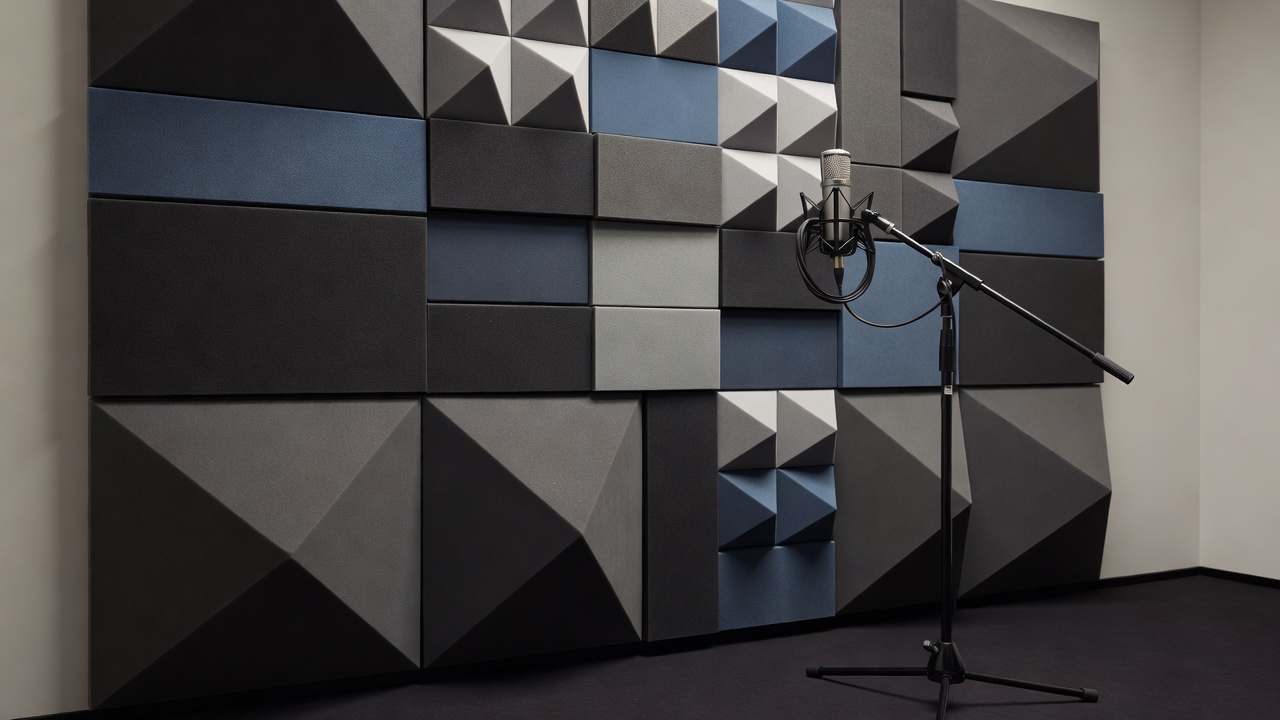
Listen for the shape of the room
Short reflections can colour a voice even when there is no obvious reverberant tail. Move the microphone and performer within the usable area and compare a repeated phrase. A small change in position may reduce a troublesome reflection more effectively than changing equipment. Test likely performance movement too: a setup that only works when someone remains perfectly still may not suit an expressive actor.
Low-frequency behaviour deserves separate attention. Thick absorption, room proportions and source placement affect how low energy builds and decays. A hand clap is a useful first impression, not a complete acoustic test. Record representative material, including the pitch range and physical actions you expect. Evaluate those samples at a consistent playback level rather than letting the louder example win automatically.
“Choose the environment for the quietest useful detail, not the loudest impressive demonstration.”
— Roverbravilo editorial principle
Match the space to the intended perspective
Close dialogue often benefits from a controlled, relatively dry environment because the game will supply its own spatial context. Foley may need enough floor area for natural movement and enough clearance to keep unwanted reflections away from the microphone. A weapon mechanism, cloth movement and a large resonant object will each make different demands. Avoid treating every game audio session as a voice booth session with different props.
A lively room can also be the correct creative choice. If the acoustic is part of the effect, document its character and consider recording a separate close perspective. The purpose is not to eliminate all room sound. It is to make the relationship between direct sound and reflected sound intentional, repeatable and compatible with the final scene.
Evaluate the working environment
Check sightlines, communication, cable routes and safe movement before the booking is confirmed. A quiet room is not useful if the performer cannot hear direction clearly or if the Foley artist must step over exposed cables. Ask how talkback is prevented from entering takes and whether remote listeners can monitor without interrupting the capture path. Confirm accessible entry, seating and break arrangements with the people who will use them.
- Isolation
- The building's resistance to unwanted sound transmission between spaces.
- Absorption
- Material and construction that reduce reflected acoustic energy within a room.
- Room tone
- A recording of the environment without intentional performance, made under documented session conditions.
- Monitoring
- The listening chain used to judge capture, including headphones, speakers, routing and playback level.
Leave with a room decision, not an equipment wish list
Write a short acceptance note covering background noise, reflection character, usable floor area and operational restrictions. Attach the representative samples and identify their recording settings. If a compromise remains, name who will manage it and when. This turns a subjective visit into a practical production decision and gives everyone a shared reference if the session conditions change.